

Assembly instructions
T-slot Nut Fitting M8 for VW T7 and Ford Tourneo Custom 2023+
Table of contents
Technical specifications
| Eigenschaft | Wert |
|---|---|
| Productype | T-slot nut (fitting) for seat rail |
| Compatibility | VW T7 Multivan, VW T7 Beach, Ford Tourneo Custom V710 with original seat rail system |
| Locking comb material | Galvanized steel |
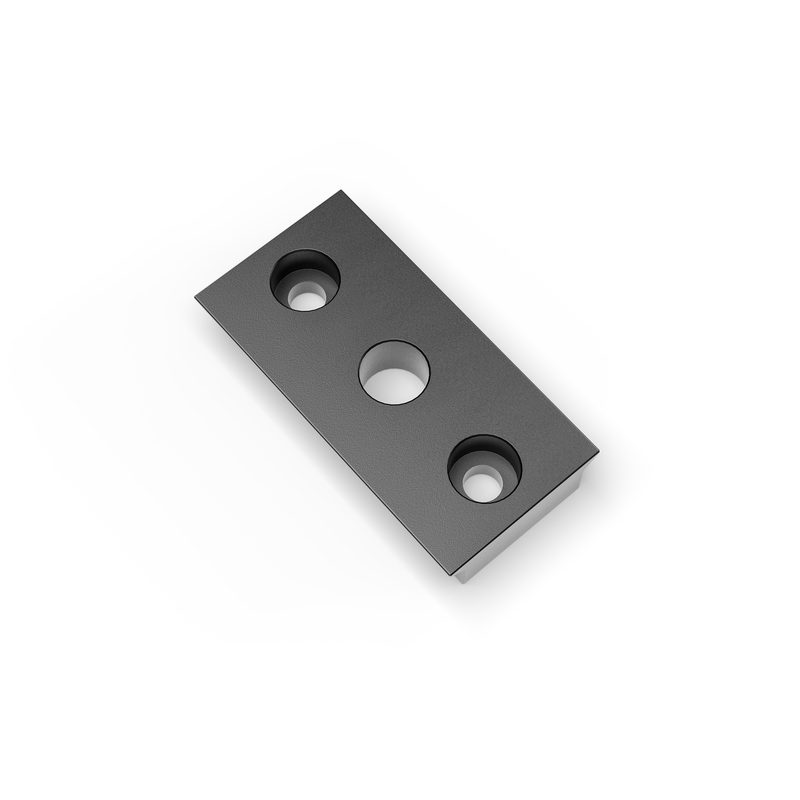
| Cover plate material | Powder-coated steel |
| Clamping nut material | Aluminum 6061, black anodized |
| Thread size | M8 (metric) |
| Thread length | approx. 12 mm |
| T-slot nut outer dimensions | approx. 28 × 15 × 5 mm |
| Lashing eye inner diameter | 30 x 26 mm |
| Lashing eye opening angle | 180 degrees |
| Fastening method | Insert and secure into the seat rail |
| Tensile strength | ≥ 8.8 (when used with M8 bolt, class 8.8) |
| Max. recommended load | 250–300 N per T-slot nut (depending on screw connection) |
| Mounting position | Anywhere along the seat rail Movable |
| Use | For securely securing objects in the vehicle |
| Scope of delivery | 1× T-nut fitting M8 without lashing eye |
Scope of delivery


Assembly
Required tools
Remove the slot nut
We deliver the T-nut fully assembled, so the individual components are not damaged during transport. You also have a ready-made example for later installation. Disassemble the T-nut into its individual components and first gather the following:
- the locking comb,
- the centering cover,
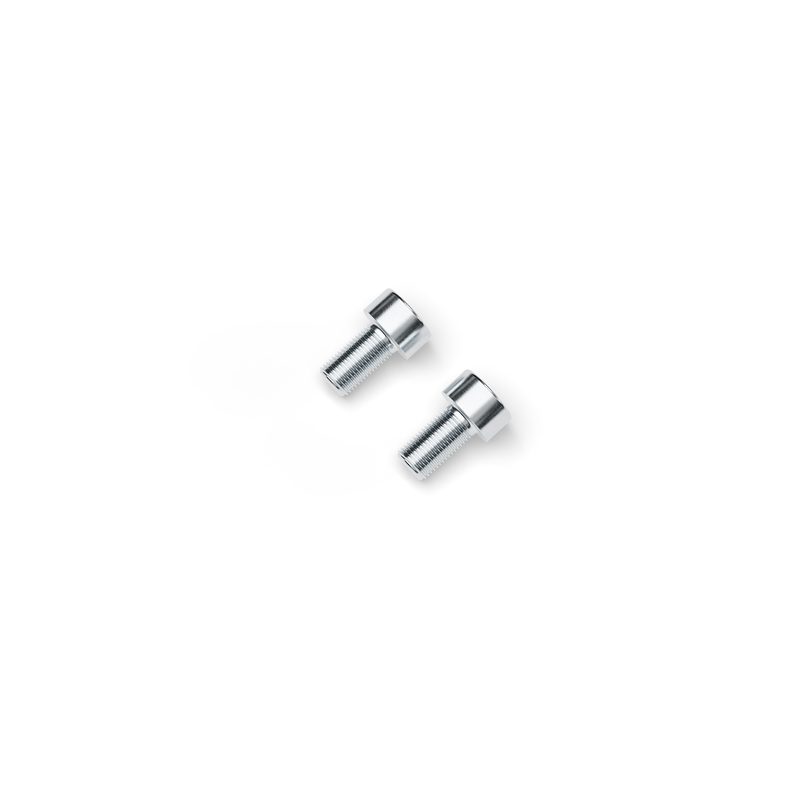
- 2 x M5 cylinder head screws, and
- the SW4 Allen key.
Insert locking comb into floor rail
First, the locking comb is inserted into the vehicle's floor rail and held horizontally against the upper floor rail cover with the index finger and thumb of one hand. Make sure that the four locking lugs point toward the corresponding recesses in the floor rail.
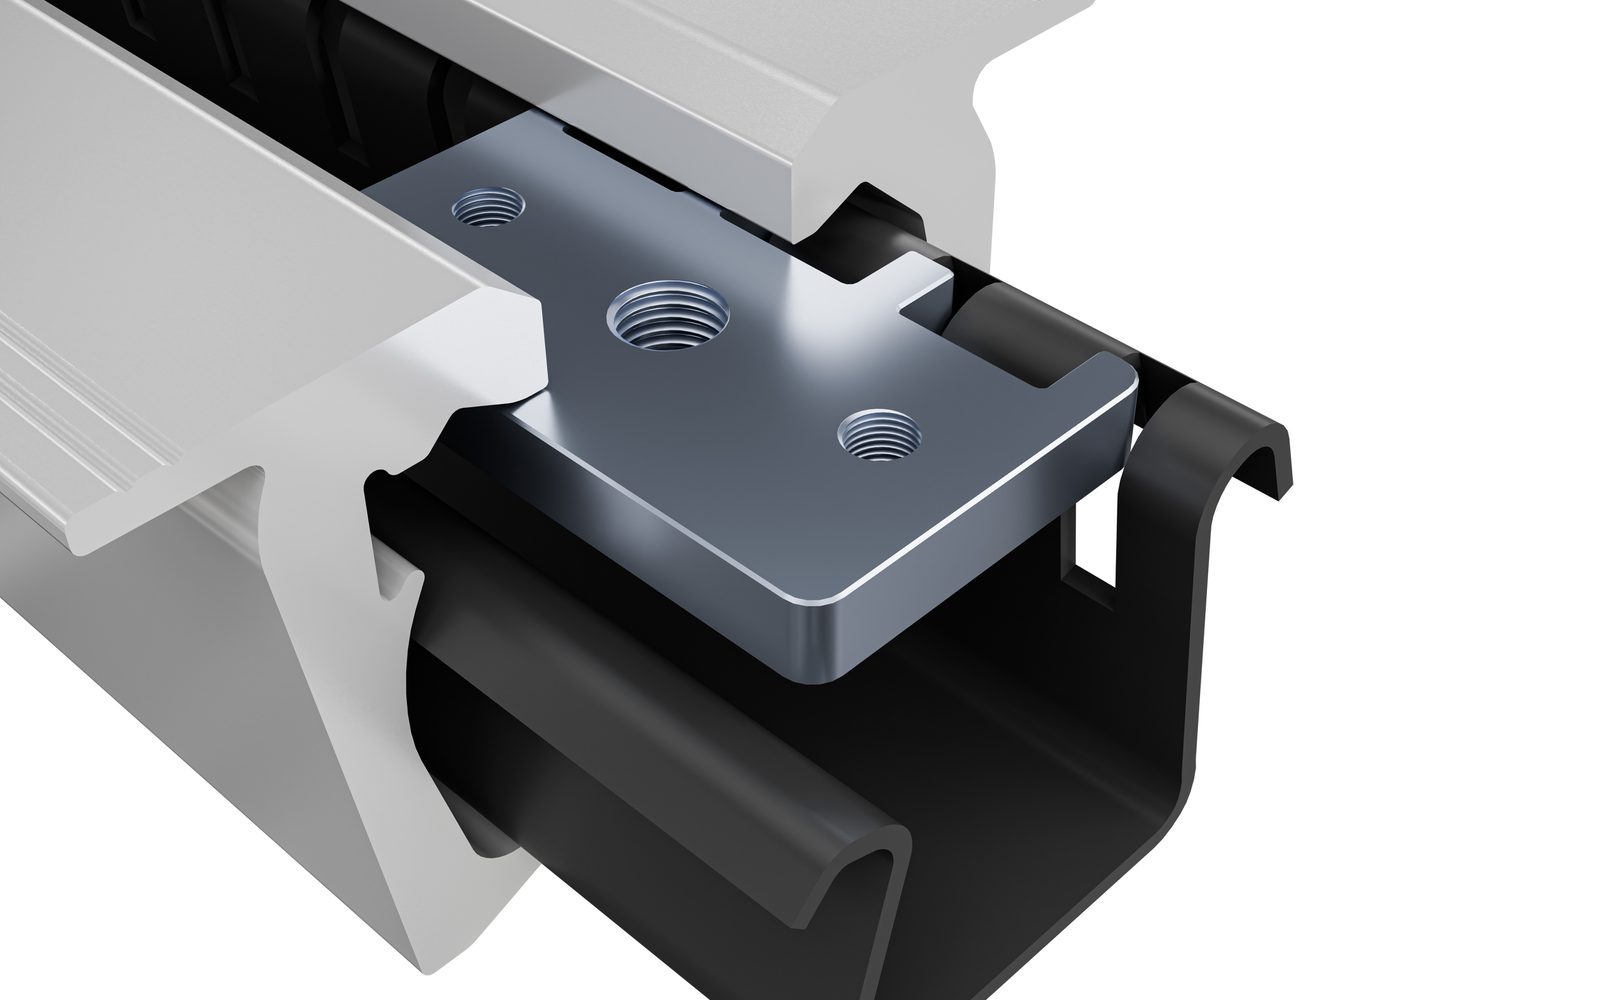
Insert clamping block
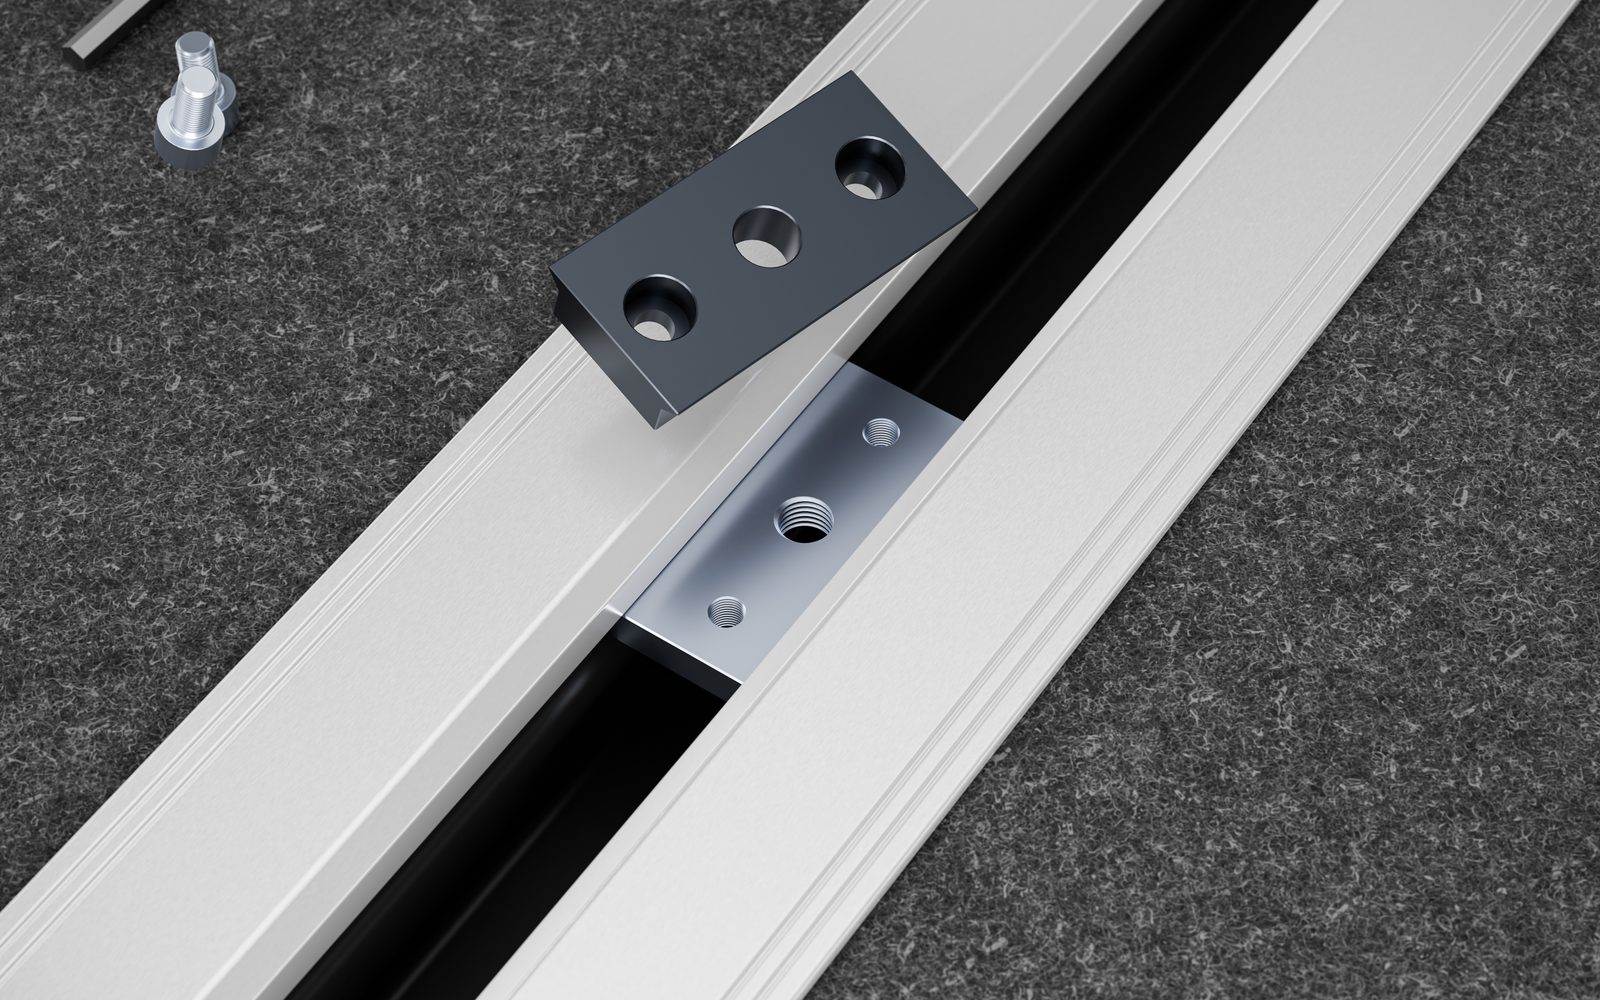
The aluminum clamping block is then placed above the locking comb with its larger side facing upwards so that the holes are congruent with each other.
Fix the clamping block and screw it tight
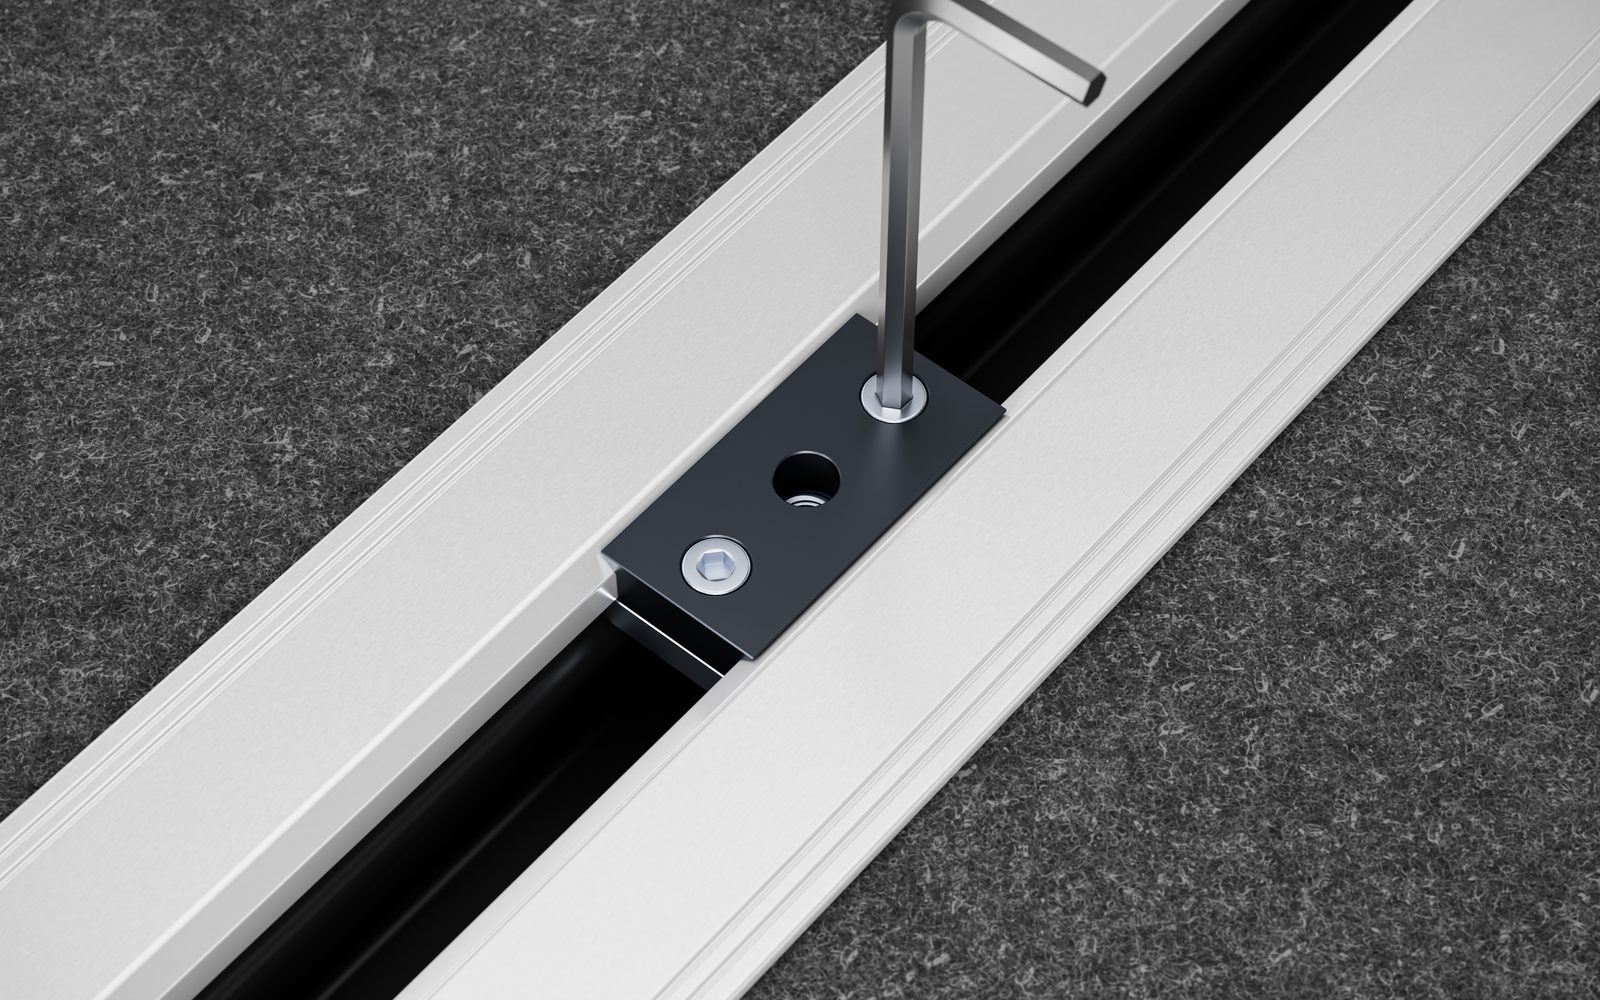
Now, using your other hand and a 4 mm Allen key, insert the two M5 cylinder head screws into the two outer holes of the clamping block and screw them into the locking comb. If the threads don't engage immediately, move the locking comb slightly horizontally until the threads align. Tighten both screws by hand.
Note: These two screws will not have a load-bearing function later on; they only serve to center the locking comb.
Place the cover plate on top and screw the lashing eyelet tight
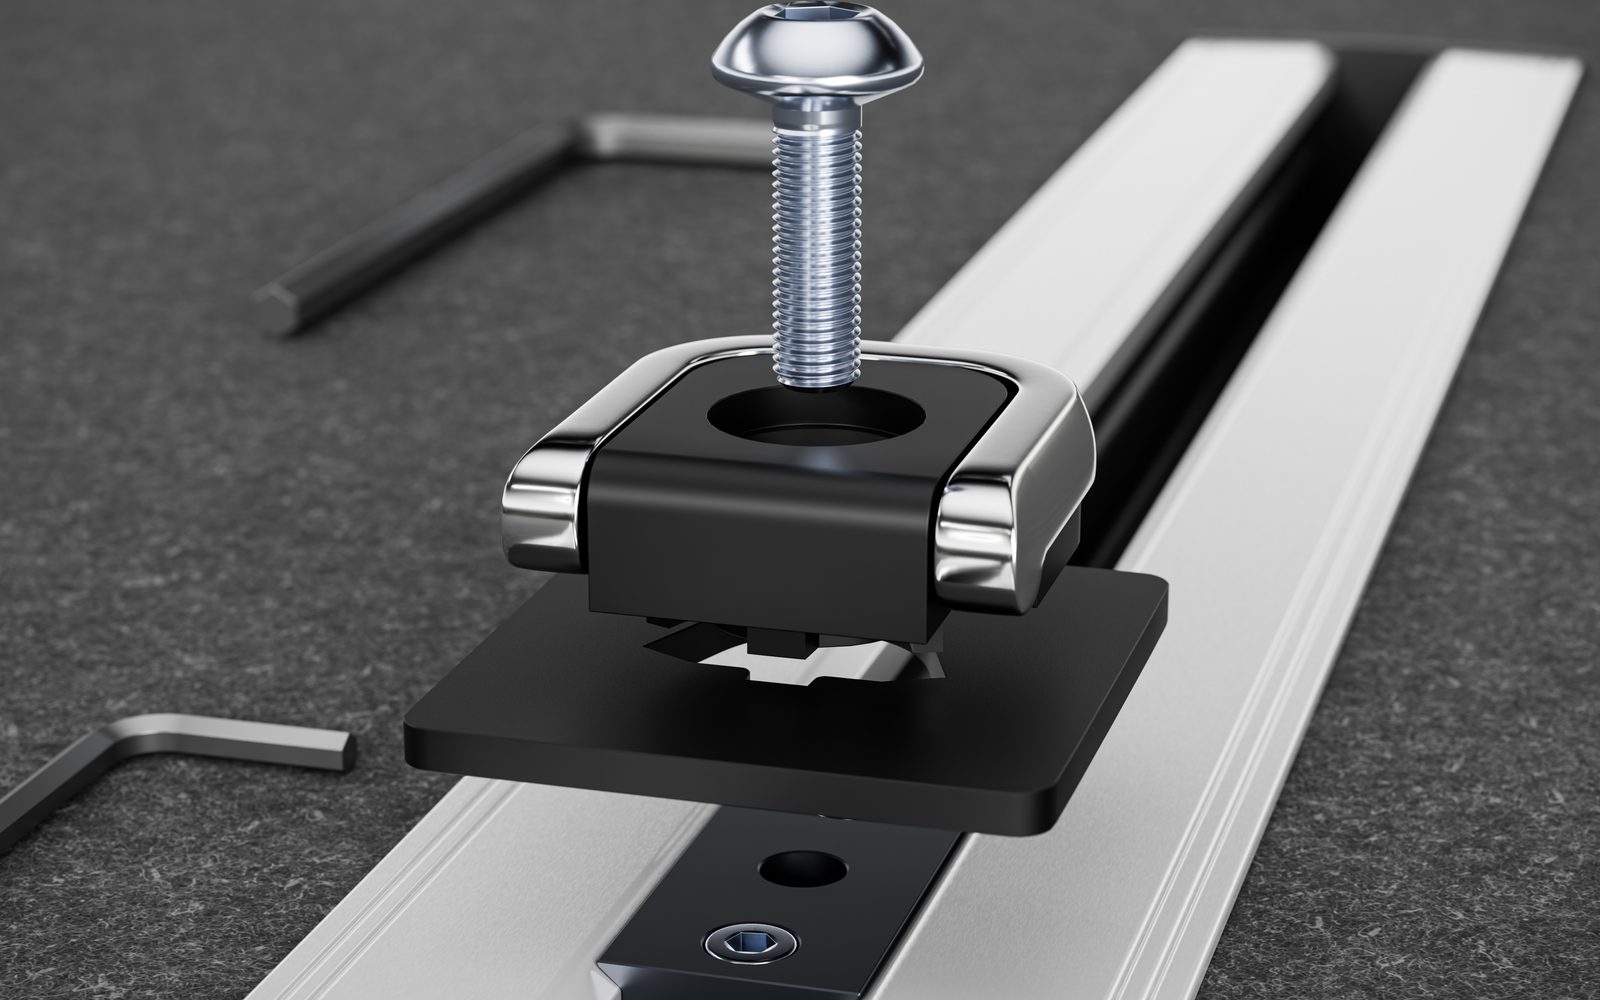
Place the powder-coated cover plate onto the fixed slotted nut. Screw the folding lashing eyelet onto the remaining M8 thread on the locking comb.
Mount object
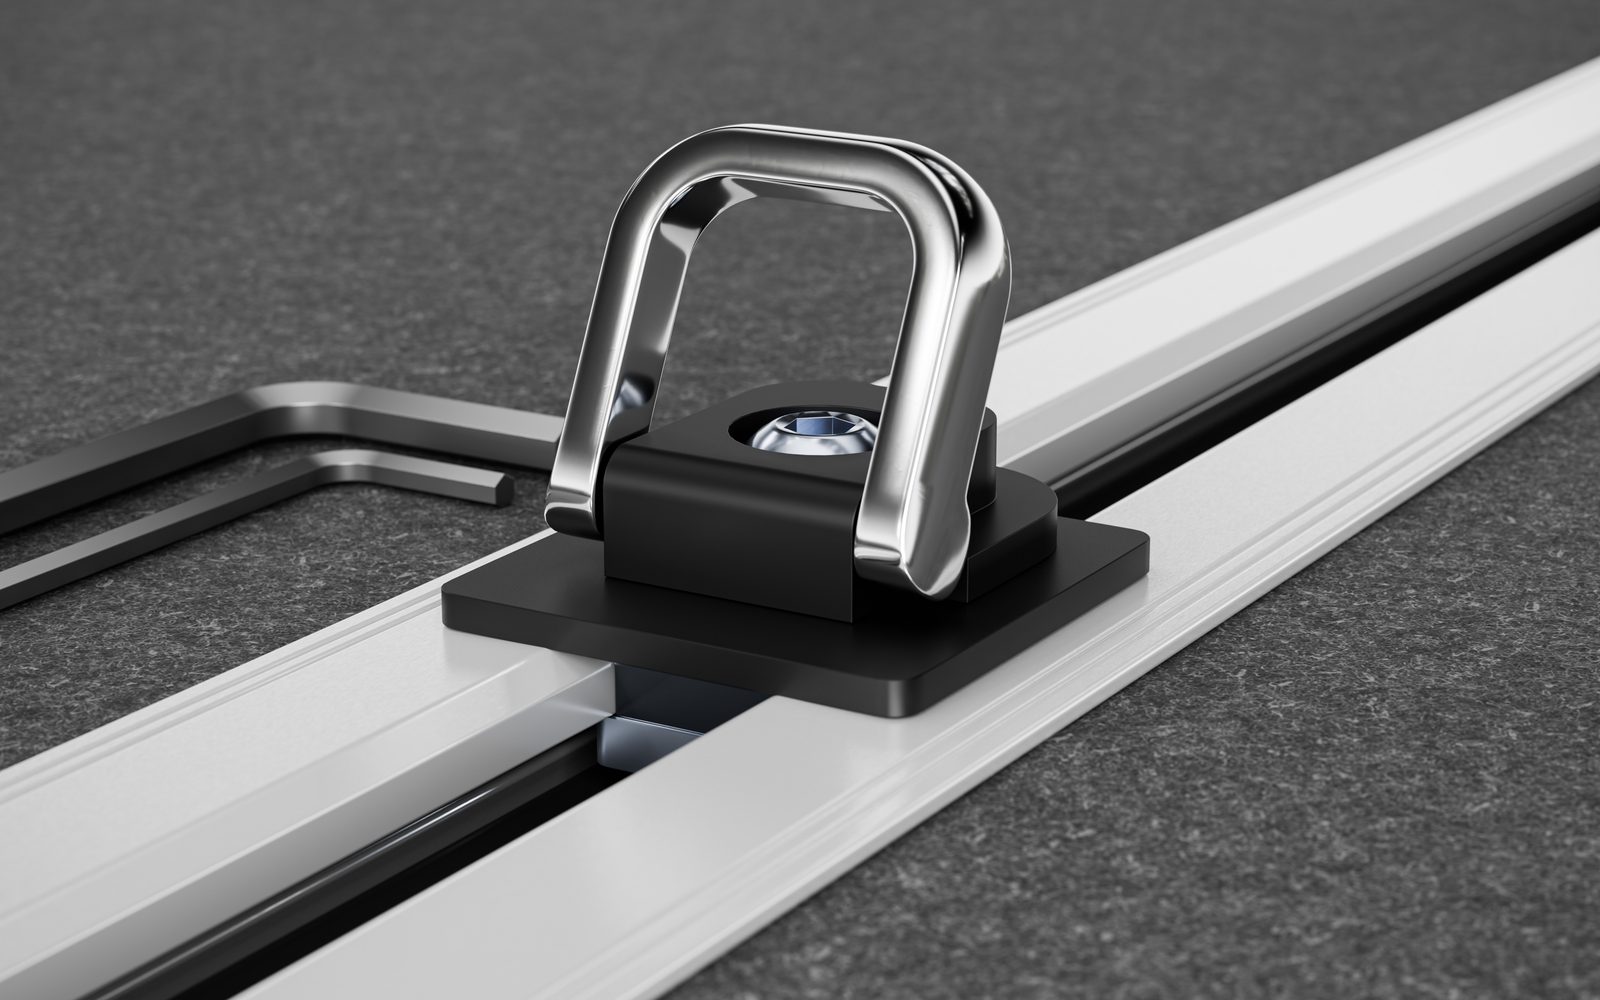
The object to be secured can now be attached to the lashing eyelet using tensioning straps.
Usage
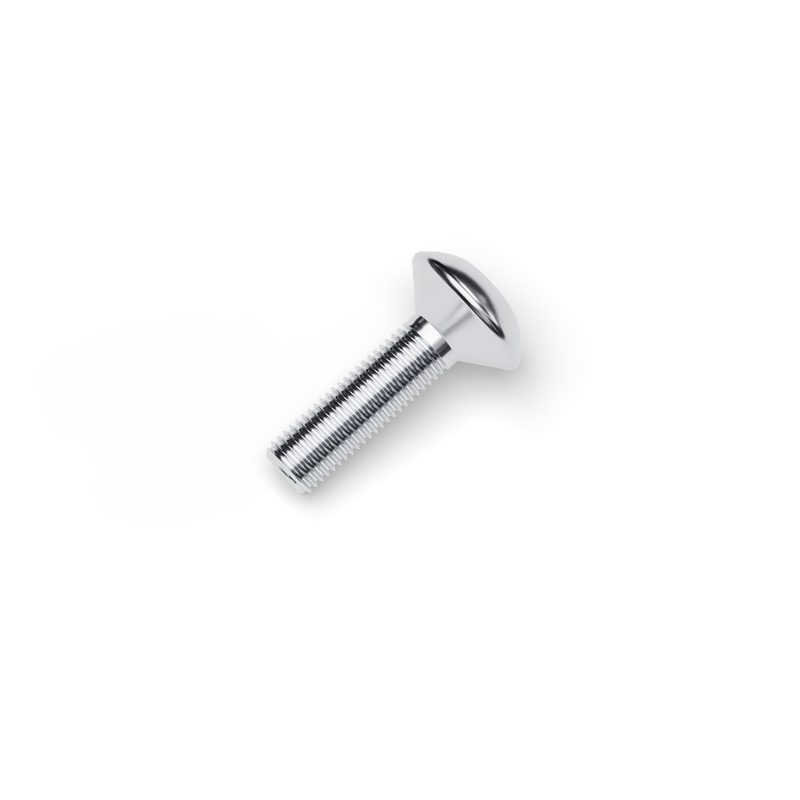
The correct screw length
The screw length used to attach the object should be determined using the following formula:
Screw length (measured without the head) = height of the object to be attached + minimum 22 mm / maximum 29 mm
Example
The object to be attached is 20 mm high; in this case, the length of the screw shaft (measured without the head) should be between 42 and 49 mm. Ideally, a washer should be placed under the screw head to prevent scratching the surface of the cover plate.
Safety instructions
- Please read these assembly instructions very carefully and completely to avoid errors when installing the floor rail adapter!
- The T-nut must be installed completely and correctly according to the enclosed or online assembly instructions.
- If the screw length is less than the specified minimum, there is a risk that the screw will not sufficiently penetrate the thread of the locking comb.
- If the screw exceeds the specified maximum length, there is a risk that the floor of the vehicle's floor rail will be dented and damaged.
- camptools is not liable under any circumstances for personal injury or property damage, or resulting financial loss due to improper installation or use of the product.
- Any modification, alteration, or misuse of the product is prohibited and will void any warranty or liability.
- Before installation, ensure that the seat rails are free of dirt, rust, or foreign matter and are in perfect working order.
- After inserting the T-nut, it must be manually checked to ensure it is securely seated in the rail.
- Depending on the type, size, and weight of the object to be fastened, multiple T-nuts must be used to ensure secure fastening.
- The T-nut is approved for vertical and horizontal loads only within the specified specifications. Excessive loading may lead to failure.
- The condition of the T-nuts and fasteners must be checked regularly – especially after transport or heavy use.
- Damaged, deformed, or worn parts must be replaced immediately. Continued use poses a safety risk.